How to Clean Suede Leather Boots & Shoes
How to Clean Suede Leather Boots & Shoes
How to Clean Suede Leather Boots & Shoes
Suede is an amazingly stylish material, but keeping it clean? Learn how to clean suede boots and shoes with these surefire DIY techniques.
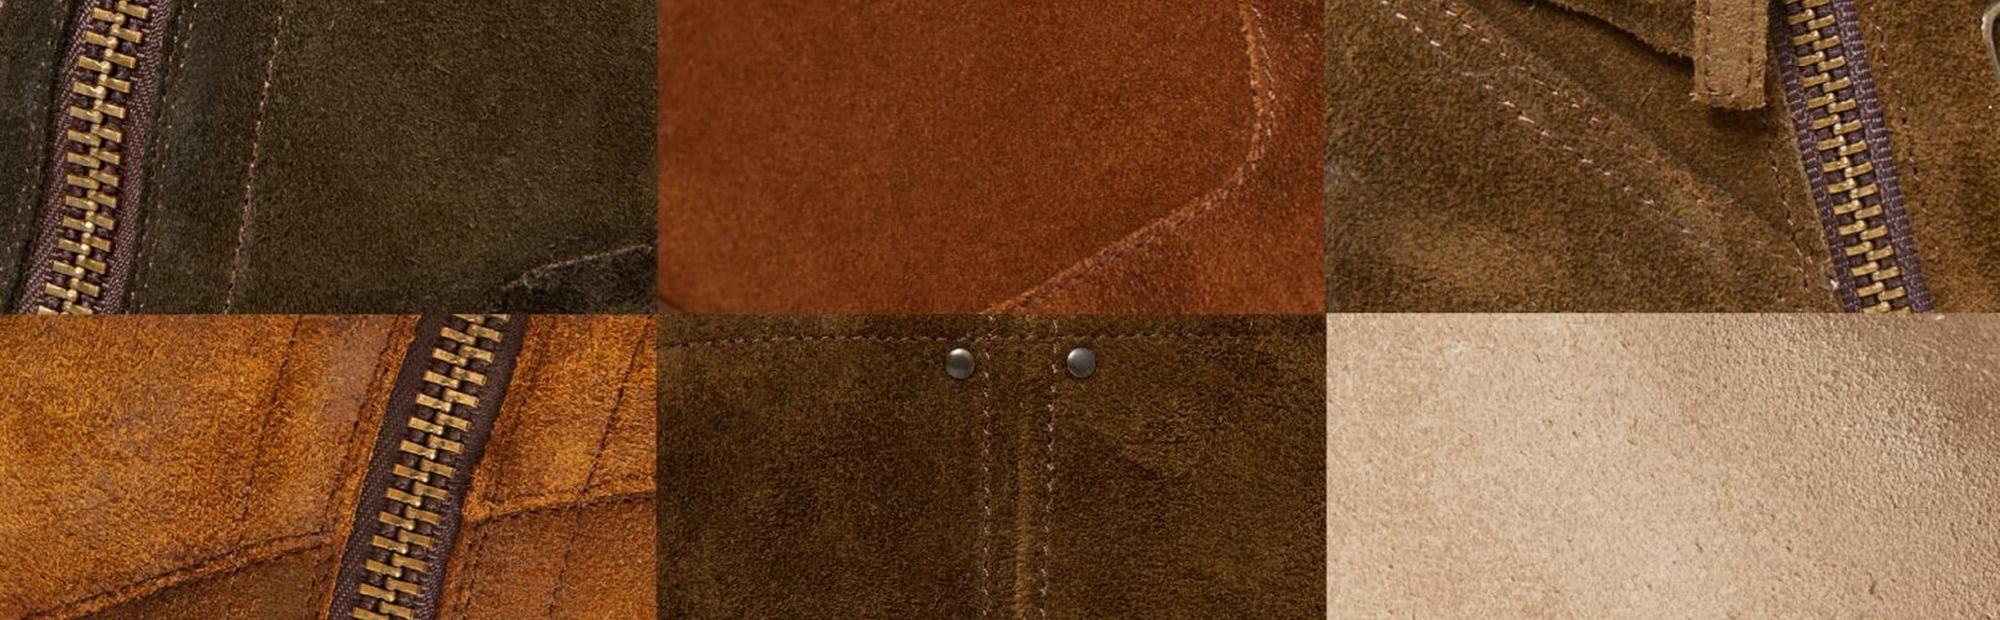
Suede is a stylish leather material but it can be temperamental when it comes to scuffs, stains, or water marks. Got a scuff on your new suede boots? Fear not! Keeping suede clean is simple once you know how and you can do most of it with household items. Read on for step by step instructions on how to clean suede leather boots and shoes.
You Will Need
- For most needs:
- A soft bristle brush or suede cleaning brush (a toothbrush will work)
- A clean cloth or bath towel
- Newspaper or something else to stuff the boot
- Water (for water stains)
- For tough stains and scuffs:
- A pencil eraser (for tough scuffs)
- White vinegar (for tough stains)
- To prevent future stains:
- Suede protector
- Water proofer if you live in an area with snow
Step By Step: How to Clean Suede Boots & Shoes
1. Dry the boots or shoes: To clean suede boots and shoes, they need to be dry first. If they aren’t already dry, stuff your boots (or shoes) with newspaper or something else that you can stuff into the boot to maintain its form while it dries and leave your boots in a dry place that is out of direct sunlight. If the boots are saturated, remove the insole and place an absorbent towel such as a paper towel inside. Those impatient among us might get crazy with a hair dryer, but just be careful not to over do it since you can burn the leather.
2. Stuff the boot / shoe: If you haven’t already, stuff each boot or shoe with newspaper or something that serves a similar function so that the boot maintains form while you brush or wet the boot (for water stains).
3. Brush to remove dirt and debris: Use a soft bristled brush and brush gently against dried dirt and scuff marks. Brush in the same direction unless you come across tough scuffs, where you may need to brush back and forth to loosen the grain. Finish by brushing with the grain in the same direction you were brushing before to leave consistent brush marks.
4. Wipe down with a dry, clean cloth: Following your brush work, wipe the surface with a dry, clean cloth to remove any dust or small particles remaining after brushing. Same as when you were brushing, wipe down in the same direction to leave a clean, consistent grain pattern. This may be your last step if you only had light dirt or scuff marks. Proceed to step 8 if your boots are looking good. If you have persistentscuffs or stains, continue with the next steps.
5. Remove tough marks with a pencil eraser: For scuff marks or dirt that you can’t brush out, use a pencil eraser and rub vigorously back and forth on the area. Finish off by using your brush again and brushing down the grain.
6. Remove water stains by wetting / drying: If water has discolored an areaof your boots, remove water stains from your suede boots by wetting a bush or clean towel and gently wetting the exterior of the boot around the stain. Once wet, remove excess water with a dry towel. Stuff the boot with dry newspaper and let dry overnight.
7. Remove tough stains and salt marks with white vinegar: If your boots and shoes have fallen victim to salt stains or other marks, you can use white vinegar to try and dislodge the stains. Wet a towel or cloth with white vinegar and apply to the stained area. Let the boot dry (stuffed, of course) and then use your brush as you would to remove other marks and revive the grain.
8. Apply suede protector (and water proofer if you live in an area with snow): You’ve put in the work to clean your suede boots, so youshould protect them from future damage.
Suede protector
There are a number of suede protector products availablesuch as Ariat Water and Stain Protectant or Kiwi® Suede Protector, which are usually applied with a spray bottle. (Always test the product first on an inconspicuous spot such as theinner part of the shoe/boot). Make sure your boots are cleaned to your liking (or as good as you can get them), make sure they are dry as well, and then apply suede protector to all exterior areas of the boot.
Make sure your boots are cleaned to your liking (or as good as you can get them), make sure they are dry as well, and then apply suede protector to all exterior areas of the boot.
Water proofer
If you live in an area where it snows, protecting your boots with a water proofer is a good idea as it helps prevent salt stains. The water proofer will darken your boots when first applied, but don’t worry: they will lighten back up over time. Keep in mind that water proofer only helps repel water and needs to be reapplied from time to time.
And voilà! With any luck your suede has been revived to a like-new state and you can continue rocking your favorite suede leather footwear once again.See? That wasn’t so bad. The stylish look of suede doesn’t have to come with anxiety that it won’t last. It just takes a few household items and some TLC to keep your suede boots looking great for miles to come.